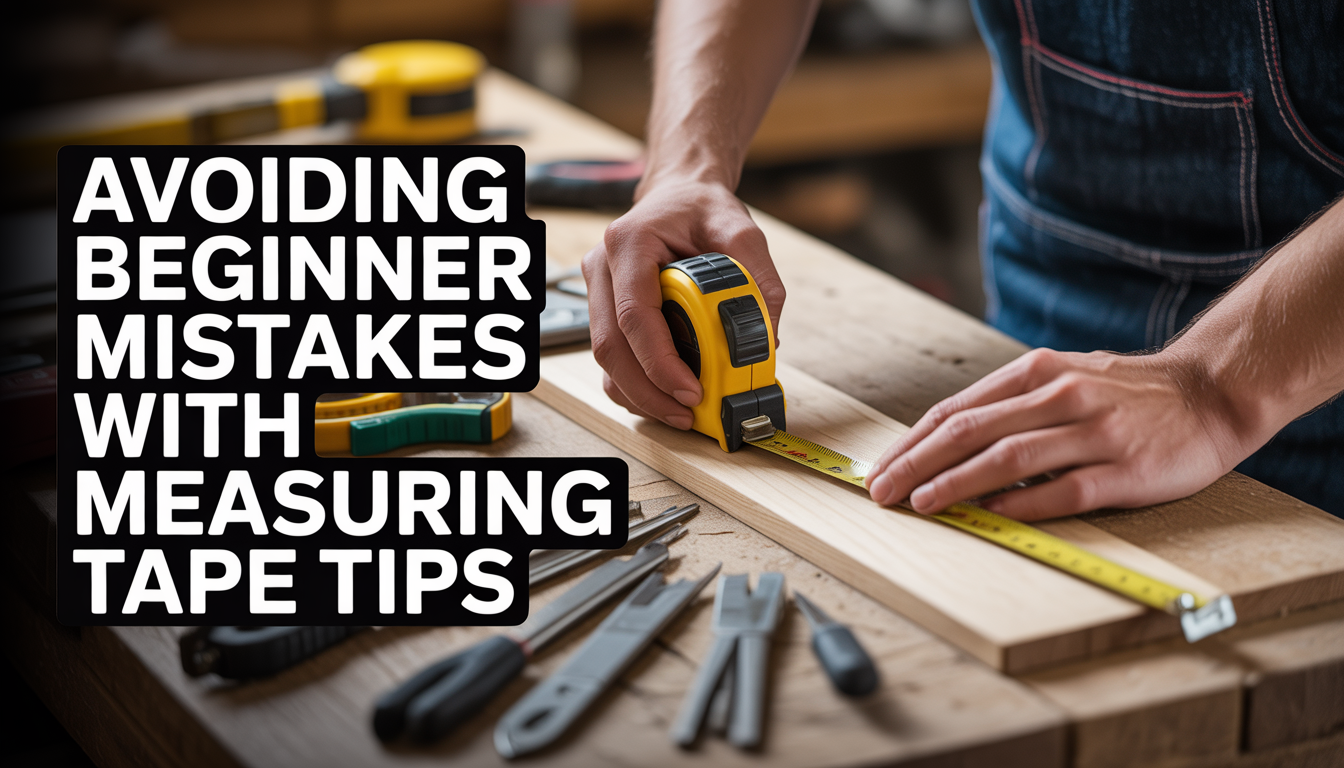
I used to think that a measuring tape was the simplest tool in the world. You pull it out, look at the little lines, and you’re done, right? Well, after cutting a $100 piece of oak three inches too short because I didn’t understand how my own tool worked, I realized that the measuring tape is actually a master of deception. It looks simple, but it’s full of little secrets that can ruin your weekend.
The “Wiggling Hook” Mystery:
The biggest mistake I made as a beginner was trying to “fix” my tape. I noticed that the little metal hook at the end was loose. It wiggled back and forth about an eighth of an inch. Being a perfectionist, I grabbed a hammer and pounded the rivets until that hook was tight and stayed perfectly still.
I thought I was being smart. I was wrong.
That wiggle is actually the most important part of measuring tape tips. It’s called “true zero.” When you hook the tape on the edge of a board and pull it tight, the hook slides out. When you push the tape against a wall to measure an inside space, the hook slides in. That movement is exactly the thickness of the metal hook itself. If you “fix” the wiggle, your measurements will be wrong every single time. It’s like a built-in calculator that adjusts for its own body. Leave the wiggle alone!
The “One-Inch” Cheat for Precision:
Sometimes, you need to be incredibly precise, and that wiggling hook, even if it’s working perfectly, can feel a bit clumsy. This is where I learned the “Burn an Inch” trick.
Instead of starting at the very end of the tape, you start your measurement at the 1-inch mark. This gives you a solid, flat line to line up with the edge of your wood. It’s much more accurate for fine DIY projects.
But here is the warning: If you do this, you must remember to subtract that inch from your final number. I can’t tell you how many times I’ve “burned an inch,” seen the tape say 15 inches, and then cut the board at 15 inches. Congratulations, you just made a board that is 14 inches long. I usually draw a giant “minus 1” on my hand with a pencil to remind myself. Have you ever been so focused on the measurement that you forgot basic math? It happens to the best of us.
Mastering the “Inside” Measurement:
Measuring the inside of a window frame or a cabinet is a nightmare. You try to bend the tape into the corner, and you end up with a weird “curve” that you have to guess at. Is it 32 and a quarter? Or maybe 32 and three-eighths? In the world of home maintenance, guessing is how you end up with gaps that you have to fill with a gallon of caulk.
Use the Case:
Did you know that most measuring tape cases have a number printed on them? It might say “3 inches” or “75mm.” That is the exact length of the plastic box itself. Instead of bending the tape, just butt the back of the case against the wall. Read the number on the tape and add the length of the case. It’s a game-changer. It turns a stressful “bend and guess” into a simple math problem.
The “Tape on Tape” Method:
If you don’t trust your math, you can use two pieces of masking tape. Put one piece on the left side of the opening and one on the right. Mark a line on each. Measure from the wall to the first line, then from the other wall to the second line, and then measure the gap between the lines. Add them up. It sounds like extra work, but it’s way faster than driving back to the lumber yard because you cut your curtain rod too short.
The “V” Mark vs. The “Line”:
When you mark your measurement on a piece of wood, what do you draw? Most beginners draw a single vertical line. The problem is that a pencil lead has thickness. If your line is a little bit tilted, which part of the line are you supposed to cut?
I learned from a professional carpenter that you should always “Draw a Crow’s Foot.” Instead of a line, draw a small “V” where the point of the V is exactly on your measurement. This gives you a microscopic, perfect point to line up your saw. As the old saying goes, “Measure twice, cut once.” But I like to add: “Mark with a V, and you’ll see where to be.” ## Avoid the “Tape Sag” Trap
If you are measuring a long distance, like a 10-foot wall, by yourself, the tape is going to sag in the middle. It creates a “bridge” effect. Because the tape isn’t perfectly flat, the measurement it shows will be longer than the actual distance. It’s like a shortcut that takes longer because you’re walking up and down hills.
To fix this, you either need a second person to hold the middle up or you need to pull that tape so tight it screams. If you can’t do either, lay the tape flat on the floor instead of holding it in the air. This ensures you’re getting the “true” distance. This is one of those beginner mistakes that is so easy to avoid if you just take five extra seconds to clear the floor.
Reading the “Tiny Lines” Without a Headache:
Let’s be honest: looking at all those tiny black lines can be overwhelming. Is that the 1/16th line or the 1/8th line?
If you are struggling with measuring tape tips, look for a tape that has the fractions printed right on it. They make “easy read” tapes that literally say “1/8,” “1/4,” and “3/8” in tiny print. There is no shame in using these! Even pros use them when they’re working in low light or when they’re tired.
If you don’t have an easy-read tape, remember the “Height Rule.”
- The longest line is the Inch.
- The next longest is the Half-Inch.
- The next is the Quarter-Inch.
- The shortest ones are the Sixteenths.
I used to get confused until I realized it’s just like a family tree. The “Grandpa” line (the inch) is the biggest, and the “Grandkids” (the sixteenths) are the smallest.
The “Stud” and “Joist” Secret Symbols:
Have you ever noticed the red numbers or the little black diamonds on your tape? They aren’t just for decoration.
- Red Numbers: Usually appear every 16 inches. This is the standard distance between “studs” (the vertical boards inside your walls). If you’re trying to hang a heavy TV, look for those red numbers.
- Black Diamonds: These usually appear every 19.2 inches. This is a special measurement used for floor “joists.”
Using these symbols turns your measuring tape into a “stud finder.” If you find one stud, you can just pull your tape out, look for the next red number, and you’ll know exactly where the next piece of wood is hiding behind the drywall. It makes home improvement projects feel like you have X-ray vision.
Caring for Your Tape: Don’t Let it “Snap”:
We all love the sound of a measuring tape zipping back into the case at full speed. It’s satisfying, right? Well, that “snap” is the fastest way to break your tool.
When the hook slams into the case at high speed, it can bend the metal or even break the internal spring. Over time, this ruins the “true zero” wiggle we talked about earlier. I’ve started using my finger as a “brake.” As the tape comes back, I let it slide over my pointer finger to slow it down before it hits the case. It’s a small habit that will make a $20 tape last for ten years instead of ten months.
Also, keep your tape dry! If you’re working outside in the rain, wipe the blade down with a rag before you retract it. If water gets inside the case, the spring will rust, and the tape will stop coming out. A rusty tape is a dead tape.
Precision vs. “Close Enough”:
In some projects, being off by an eighth of an inch doesn’t matter. If you’re building a garden fence, who cares? But if you’re building a drawer or a picture frame, a tiny mistake will make the whole thing look crooked.
The secret to improving DIY skills is knowing when to be a “perfectionist” and when to be “casual.” I always try to measure from the same side of the board every time. If you measure from the left for one piece and the right for the next, you might run into “cumulative error,” where small mistakes add up to one big disaster.
Trusting Your Eyes:
Lastly, don’t trust the tape if it looks wrong. I once measured a space, looked at the tape, and “saw” 42 inches. I cut the board, and it was way too long. I went back and looked at the tape, it was actually 32 inches. My brain had just “filled in” the wrong number because I was in a rush.
Always take a “sanity check.” Look at the board, look at the space, and ask yourself, “Does this look like three feet?” If your gut says something is off, it probably is.
Bottom Line:
A measuring tape is the foundation of every project you will ever do. If your measurement is wrong, nothing else matters, your cuts will be wrong, your assembly will be crooked, and your “relaxing” hobby will become a nightmare. Take your time, respect the wiggle, and always “burn an inch” when you need to be perfect.
FAQs:
1. Why are there tiny black diamonds on my tape?
These are for layout work on 19.2-inch centers, which is a common spacing for floor joists. It helps builders save on materials while keeping the floor strong.
2. Is a digital measuring tape better?
They can be great for long distances, but for most DIY projects, a standard “analog” tape is more reliable. You never have to worry about a battery dying in the middle of a cut!
3. What is the “Stand-Out” of a tape?
This is how far you can pull the tape out before it collapses. If you do a lot of work by yourself, look for a tape with a “10-foot standout.” It’s like having a second pair of hands.
4. How do I fix a bent tape?
Honestly, you can’t. Once a metal tape has a “kink” in it, it will always be weak at that spot and will eventually snap. It’s better to just buy a new one.
5. Why are some tapes yellow and some are white?
Yellow is the most common because it’s high-contrast and easy to see in dark corners. White is often used for “architect” tapes or for people who prefer a cleaner look, but yellow is the standard for a reason.
6. Can I use a tailor’s “cloth” tape for woodworking?
No! Cloth and plastic tapes can stretch over time. If you pull a cloth tape too hard, you might “add” half an inch to your measurement without knowing it. Always use a steel tape for building things.
